The same desirable seamless undermount capability found with solid surface sinks is now available for stainless sinks from Karran™ with their new series of “Edge Sinks”. On the top rim or flange of their stainless “Edge” sink, their factory applies a very flat thin layer of resin that is similar to solid surface. This layer provides the interface needed to bond the stainless sink, using solid surface adhesive, to the underside of the solid surface countertop.
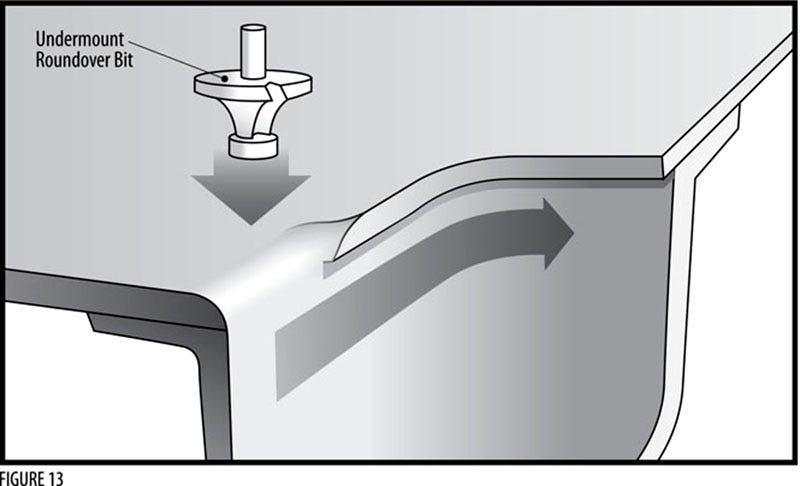
Installation procedures are the same as those described above until you get to the step where you use a roundover bit (Figure 13). Instead of the roundover bit use a 10 degree bevel bit with an 1/8” oversized nylon bearing.

Figure 13: Routing the Finished Sink Opening
Caution is in order as you proceed to bevel the solid surface edge around the opening of the sink. Do not let the router bit touch the sink. Start with the bit safely above the sink edge. Make several passes while lowering the bit a small amount with each pass until a slight amount remains not beveled. (Bits with more bevel, like 24 or 45 degrees, that have the ⅛” oversized nylon bearing, can be used as a next step to provide a shallower bevel)
The remaining not beveled portion is then sanded away using a random orbit sander with a soft radius pad installed and 280-grit sandpaper. Hold the pad parallel to the bevel as you work you way around the opening. This step is followed by hand sanding with 280-grit paper parallel to the grain of the stainless sink.
