Solid surface material is heavy, so it’s best to cut and shape it while it is stationary rather than trying to push it through a machine like a table saw.
If you don't have a good size, flat workbench to work on already, a great way to achieve a good working environment is to simply use sawhorses. If sawhorses are used, equip the top with a soft wooden sacrificial board or if using a workbench use wooden spacers on top of the workbench. Having a top board or spacers that can be easily cut allows the saw blade to cut through the material and the top part of the sacrificial boards while the material remains in place.
Make sure the saw blade extends below the solid surface a ¼” or so. If the sawhorses are not level then it will be more difficult to seam pieces in a later step, so make sure the sawhorses are as level as possible.
In the next section, we’ll cover three of the most common types of cuts: a mirror cut, a straight cut, and a curved cut.
Making Mirror Cuts for Seaming Two Pieces
With this technique, the edges to be joined are routed at the same time, which provides a perfect fit. The seam will be almost invisible when the two pieces are pushed together, even without adhesive.
- Use a 1/2" shank double fluted router bit.
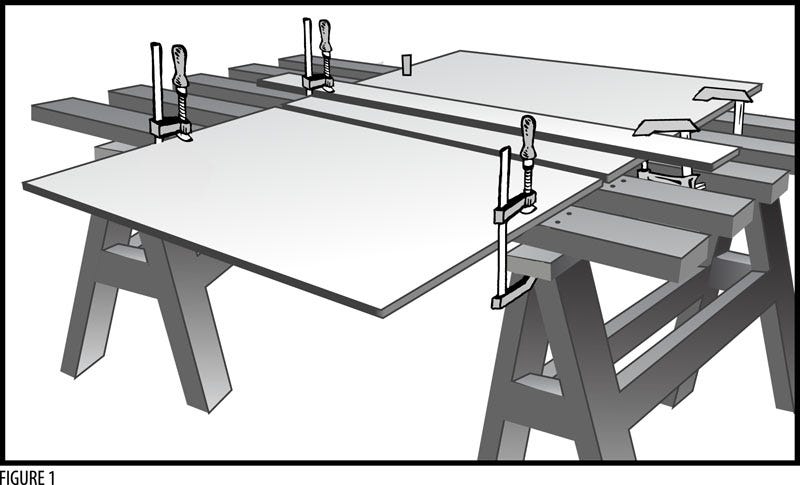
- Securely clamp the edges of two pieces 3/8” apart so they cannot move.
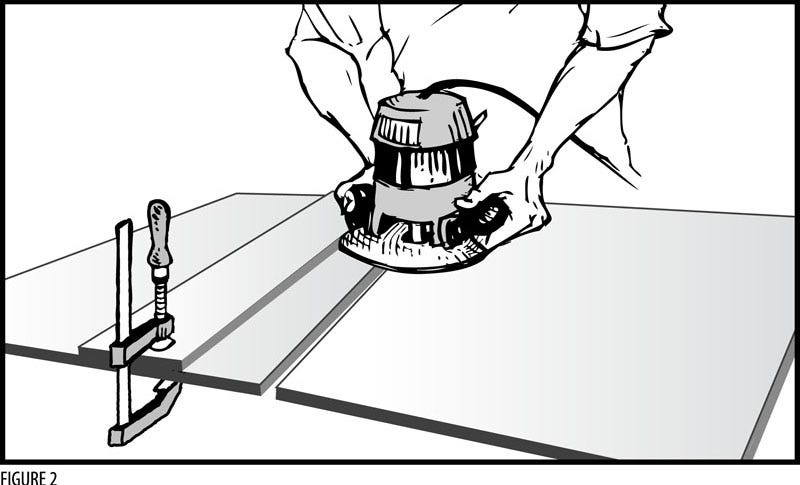
- Securely clamp a straight edge fence parallel and to one side of the opening. It needs to be at the correct distance so the router bit can cut down the middle of the opening in one continuous movement. If the bit moves a slight amount one way or another during the cut, the undulation on one side will be the mirror of the undulation on the other side, hence it’s called a mirror cut.

Figure 1: Mirror Cutting Material Layout

Figure 2: Making the Mirror Cut
Straight Cut Using a Circular Saw and Router
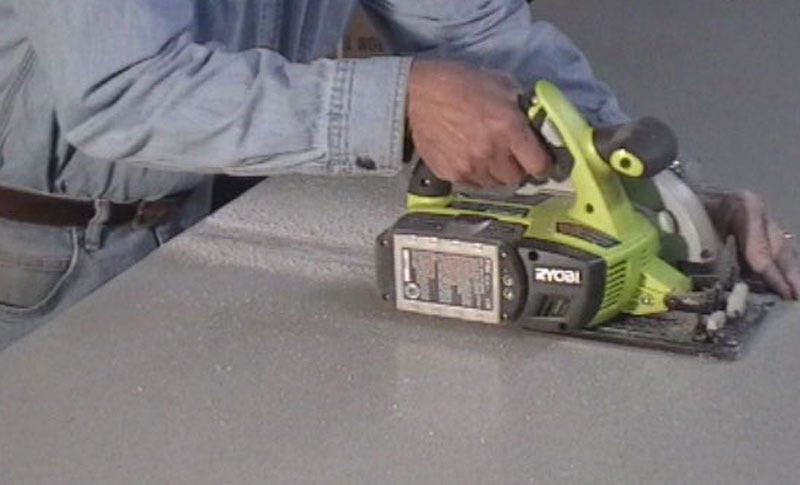
Another method for making a cut straight enough for seaming is to make a rough cut with the circular saw and leave about 1/8" of material that will be removed with the pass of the router.
After making the rough cut with the saw, clamp a straight edge the appropriate distance from what will be the finished edge and run the router to remove the leftover 1/8” of material. The result will be a straight cut suitable for seaming.

Photo 1: Straight Cut with Circular Saw

Figure 3: Routing a Straight Edge
Handy tip: Some inaccuracies can occur when using this method to create a seamable edge. The surest way to create an edge seaming is to use the mirror cutting method as described above—unless you have a $30,000 panel saw or CNC machine.
Handy tip: Apply a dusting of cornstarch to the surface and straight edge to allow the router to slide smoothly.
Making Curved Cuts
Use a template and a router for curved cuts.
Draw the pattern on the template material and then carefully remove all material up to the edge of the pattern line. This edge must be smooth, true, and accurate because any bumps will be transmitted to the material to be routed.
The easiest way to guide the router against the template is to use a router bit with either a top or bottom bearing that is the same size as the cutting diameter of the bit. Use a template for all inside and outside corner cuts.
